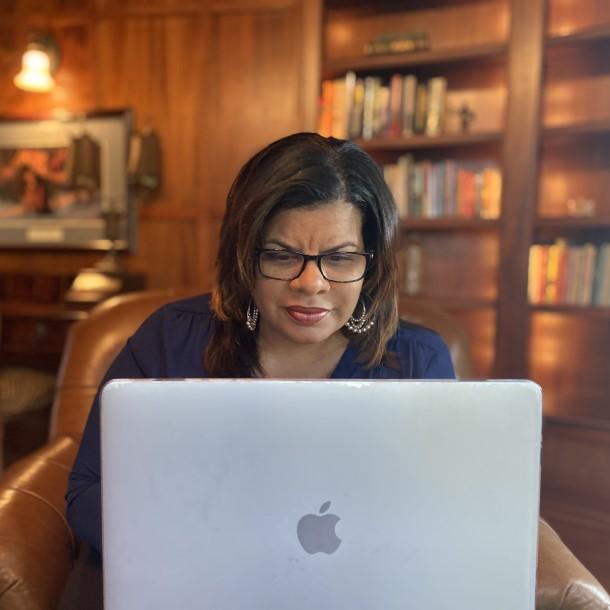
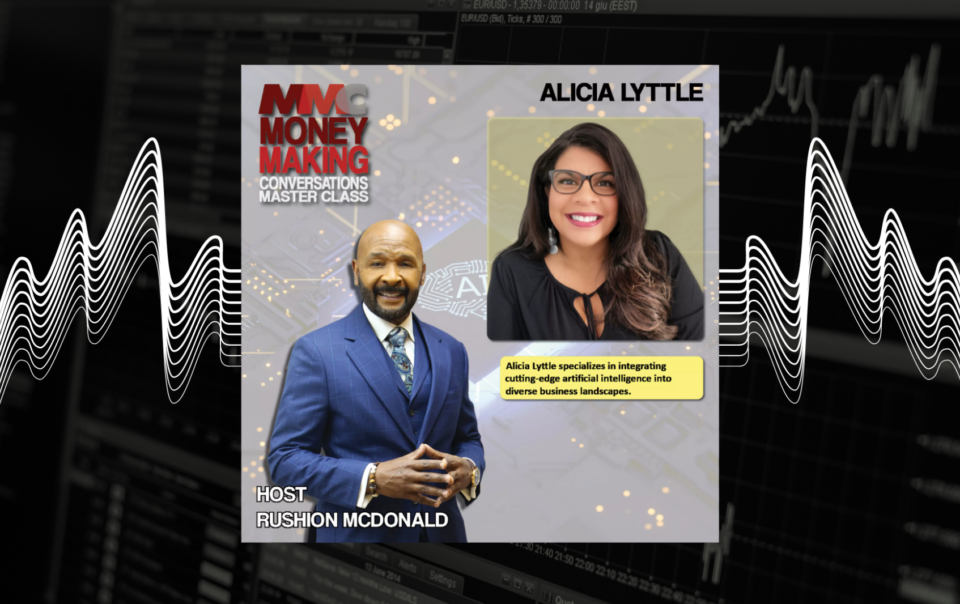
Alicia Lyttle, also known as “The Queen of AI,” is a seasoned entrepreneur, TEDx Speaker, AI enthusiast, and digital marketing expert with over 23 years of experience in the industry. Alicia has a diverse professional background, having previously held positions at esteemed organizations, including The White House, The United States Environmental Protection Agency (USEPA), and The City of New Orleans Mayor's Office. She later transitioned to the digital world, building a successful career as an entrepreneur, AI consultant, and digital marketing specialist.
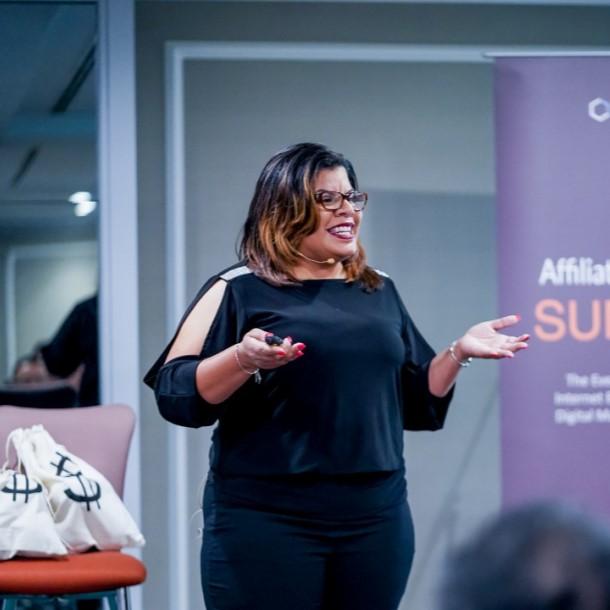
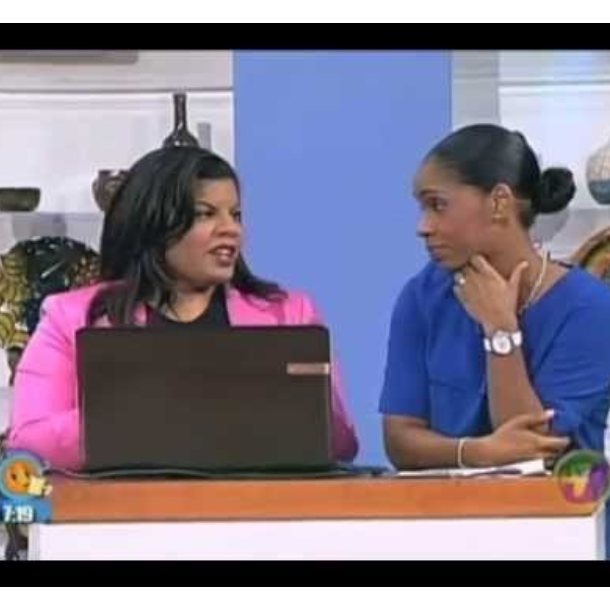
As a well-respected speaker and trainer, Alicia has traveled internationally to places such as Singapore, Malaysia, China, Australia, the United Kingdom, New Zealand, South Africa, and Nigeria, sharing her knowledge and expertise on leveraging the Internet for business success. She is the Founder of Pow Social Media, a Digital Marketing Agency, and Monetized Marketing, a training, and marketing company she runs with her sister Lorette.
Alicia is a highly accomplished entrepreneur, having received numerous awards, including the MarCom Awards, the Ava Digital Awards, the Communicator Awards, The dotComm Awards, The Nation Builders Awards, Clickfunnels Two Comma Club Awards twice, and the prestigious The Traffic Sales and Profits Circle of Seven Award.
As a seasoned business leader and AI corporate coach, Alicia is devoted to guiding businesses towards success. She teaches companies how to achieve more in less time, by embracing and harnessing the collaborative power of AI..


 I was introduced to Alicia through my cousin Lakeisha who is doing extremely well with Alicia’s teachings. I put Alicia’s stuff into action for myself and made $10,000.00 in a month. I’m so excited for what’s ahead and I’m going to double that figure real soon!
 Alicia and Lorette turned me from a web designer to an agency owner then through a connection they turned me into co-founder in a million dollar company. Their coaching and connections have changed my business and my life.
 Alicia is the coach's coach! Years ago Alicia coached me in creating my own product that I sold from stage that same day and made over $40,000.00. I’ve been creating products and courses ever since and always look to Alicia’s coaching and teaching.
 Alicia coached me on my first digital product way back in 2003 and it has made millions online. We teamed up to create a product together as well and we grossed over 1.8 million in sales. Alicia’s the real deal.